How to Shoot the Stars – No Telescope
by T.K | January 24th, 2022 |
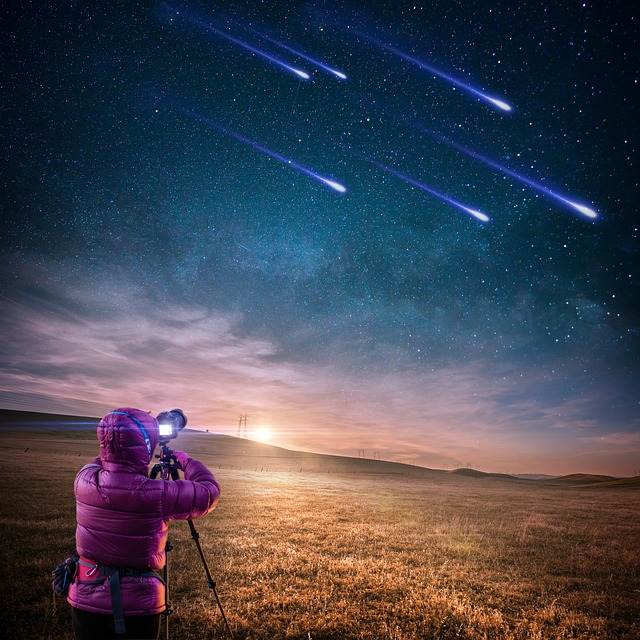
This week, I’ll be showing you how to shoot the stars using a camera only, no telescope! Shooting the stars or astrophotography is a very specialist side to photography but hopefully the following tutorial will help you get started before you look at attaching a camera to your telescope.
Camera
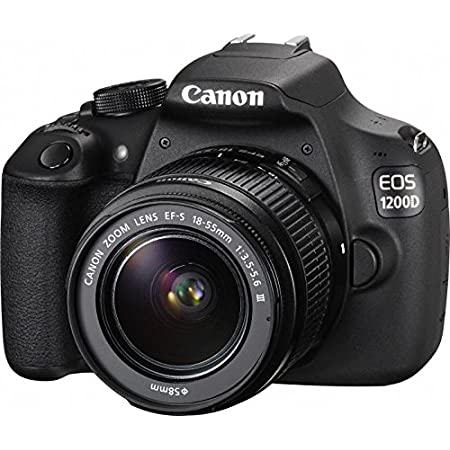
As there is very little light about, your camera needs to be good in low light, and you need a fast lens, basically, one with a big aperture if possible. I took my first astrophotography picture with a Canon EOS 2000D and got reasonable results considering it’s a beginner Digital SLR. You can set the focus and the aperture just by shining a light on it. If you are shooting with a crop sensor, I’d get something like a 10-20mm lens. You can get lots of stars in the shot, you can also zoom in to 20mm to get a slightly tighter shot, so it gives you a lot of flexibility.
So, these are the steps:
- Get your camera on a good sturdy tripod
- Turn the mode dial to manual
- Set the drive mode to the self-timer (s seconds)
- Turn off image stabilisation in both the lens and the body
- Change your white balance to tungsten (indoor or incandescent)
- Zoom out as wide as possible
- Select manual focus If you have markings on your lens to show you where to focus, focus to infinity, if you don’t have markings on your lens, switch on live mode.
- Find a bright star or a light on the horizon and use the magnify button to zoom in on it, then use the manual focus ring to get a clean image. You may have to take a few images and check the focussing and change if necessary to get a good image. Therefore, lenses with a marker are better. You can see when the lens is at infinity. Then keep the focus in manual and try not to touch or knock it.
- Set your ISO to about 10,000
- Set your aperture as wide as possible
- Set your shutter speed to about 4-6 seconds and take a shot.
Composition
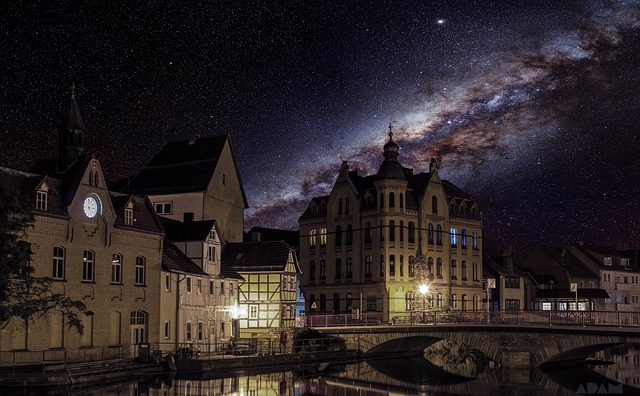
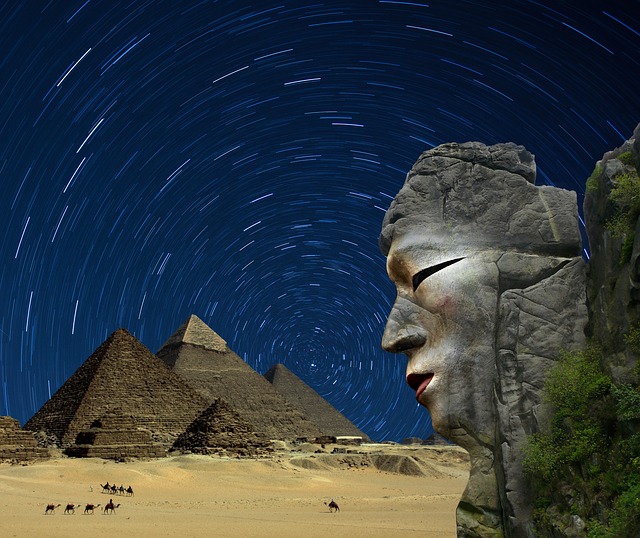
Depending on the moonlight and any ambient light from cities nearby, your shot might be overexposed with these settings, if it is, bring down your shutter speed. This first step is to find a pleasing composition, so you’re saving time by having a high ISO and a low shutter speed. So, ISO high, shutter speed low, take the photo and check the composition. If it is not good, move the camera, repeat this process until you’re happy with the composition. Once you’ve got a good composition and exposure, start bringing the ISO down and your shutter speed up, just don’t take your shutter speed up too much though, otherwise the stars will start to steak from the rotation of the earth unless that’s the look you’re going for, then get them streaking as far as possible.
600 Rule
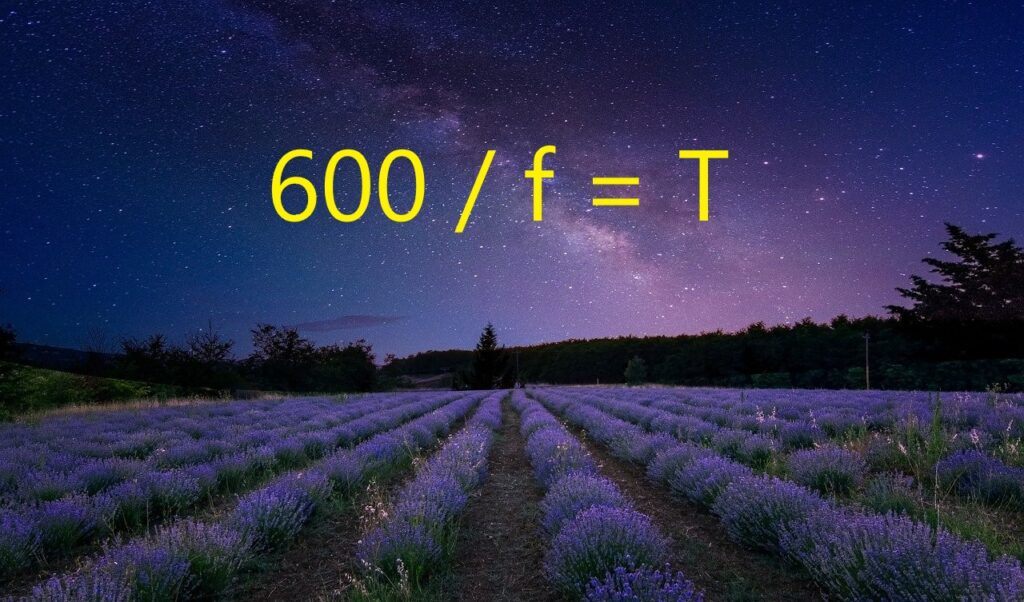
There iso a rule called the ‘600 Rule’, basically you take your focal length and divide it by 600, this will give you the number of seconds you can leave your shutter open, before the stars start to streak. This is slightly different when it comes to APS-C, then it is known as the 400 rule. If you’re shooting on an APS-C sensor, divide 400 by the focal length, that will give you a maximum shutter speed. If you’re on a lens at 18mm, you’ll want a maximum shutter speed of about 22 seconds. I’d probably keep it to about 20 seconds. If you are using a full frame camera, divide 600 by the focal length. Then it’s just a case of coming up with interesting compositions and following the patterns of the moon and the stars to see what might give you an interesting sky. Sometimes if the ambient light is bright, you’ll have to drop the ISO, but not too much to lose the stars, sometimes battling with the light coming off the ground and the light coming in from the stars.
Milky Way
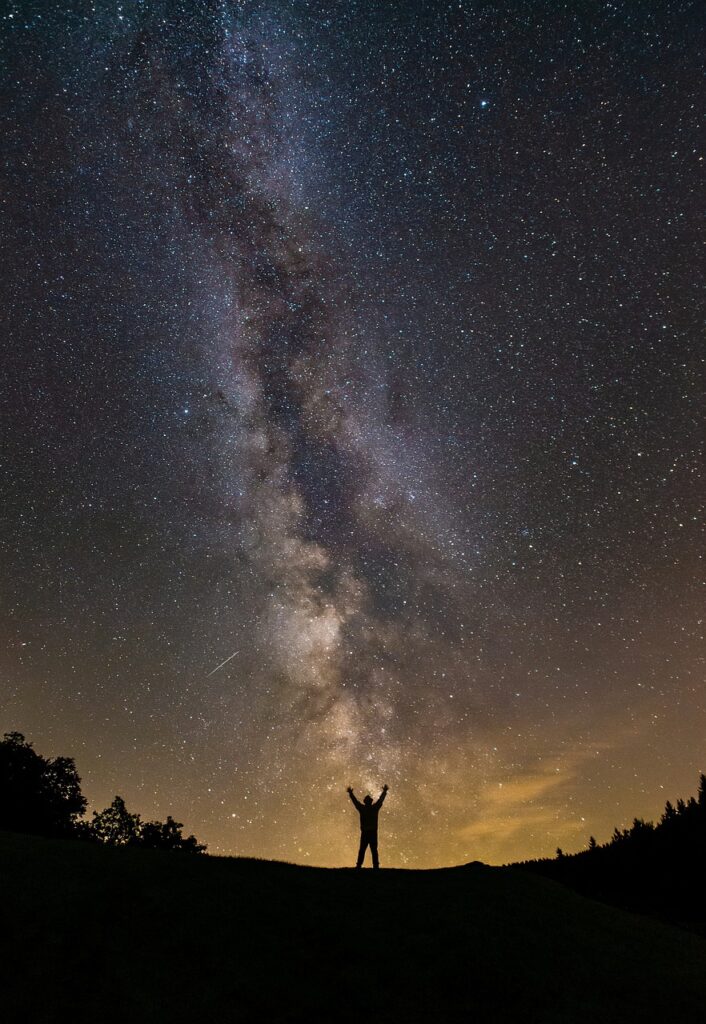
If you do some research online, you’ll see that people really get into this and it can get quite expensive. I tend to keep it to just a wide lens, I try and get the Milky Way with some moonlight, or just a nice, interesting sky full of stars. Normally if you go out with a full moon, a lot of the stars will get bleached out by the bright moon light.

PhotoPills
There is a good App called PhotoPills, it shows where the Milky Way is going to be at any given time of the year, it shows where the Moon is, what cycle it is in, also where the Sun is. It’s good, it’s just got so many different aspects to it.
Astrophotography
So that’s about it, there are a lot of steps in this, and it does take while to get used to, but if you stick at it, you can get some amazing shots. I hope this has helped you and your astrophotography and motivated you to get out there and start shooting more, ultimately this is the only way you will get better. As always if you like what you see you can leave a comment, we welcome any hints or tips about astrophotography or about shooting the stars differently.
Thanks for reading our latest tutorial on How to Shoot the Stars – No Telescope and we welcome you to come back soon for more tutorials on Astronomy and Telescopes.
How to Shoot Stars – No Telescope
We hope this explainer has helped you finding some interesting astronomy objects. Please come back soon to see our latest article in the UK Telescopes guide on how to use a telescope!
If you would like more information on interesting objects to observe in the night sky or advice about the best telescope to choose, please don’t hesitate to contact me on 01733 306 731 or send me an email tim@uk-telescopes.co.uk
Don’t forget to sign up to our NEWSLETTER!
