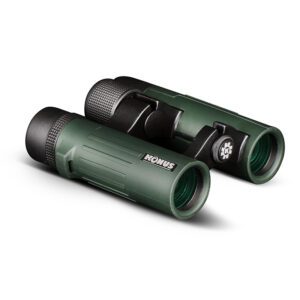
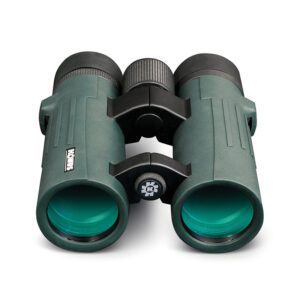
Welcome to this guide on Mapping the Night Sky, brought to you by UK Telescopes. In this guide, we will help you take your first steps to identify some of the most intriguing and fascinating phenomena in our solar system.
Let’s get started with something everyone should be able to recognise.
Getting Started
When mapping the night sky, the first and easiest planet for a beginner astronomer to observe is the moon.
The Moon has so many features and details that if you observed it each possible night for the next decade, you would not see everything.
The Moon is a brilliant object when viewed through a telescope. You may want to use a neutral density filter to reduce the Moon’s light. A better method is to do what many observers do to help them observe the Moon in comfort: Turn on nearby white lights when observing the Moon between First Quarter and Full.

Last Quarter of the Moon
Of the 1,940 named features on the Moon, 1,545 (nearly 80 percent) are craters.
There are many more craters in the highlands than in the maria. The size range of craters is large, and some observers make it a personal challenge to see either (1) how small a crater they can see, or (2) how many small craters in each area they can observe with a particular telescope.
A detailed map of the Moon is, of course, a necessity for a project of this type. When observing larger craters, note whether you can see “rays” emanating from them. These features were formed when crushed rock sprayed out from a meteor impact.
They form streaks in a radial pattern, which can be a great distance from the crater itself.
Finding Jupiter
Next to the Sun and Moon, the celestial object with the greatest detail is Jupiter. Even small telescopes will show Jupiter’s four largest satellites.
They appear as bright stars on either side of Jupiter and are generally in a straight line (although some interesting triangles and other forms are possible).

In addition to the moons, several dark stripes can easily be seen on the planet. These stripes, on either side of the equator, are known as the North and South Equatorial Belts. With larger telescopes operating at greater magnifications, more belts are visible.
At higher magnification, you can see that Jupiter is flattened, a result of its rapid rotation rate coupled with the fact that it is not a solid planet.
Jupiter’s equatorial diameter is more than 5,000 miles larger than its polar diameter.
Watching Jupiter night after night can be a rewarding pursuit. In addition to the changing positions of its moons, the planet’s rapid rotation brings nearly all of its visible area into view in a single night. At times, individual belts and zones become prominent. Some have even disappeared for extended periods of time.
Two words of caution when sketching Jupiter: Draw quickly! Jupiter rotates quite rapidly, and some of the features you will be sketching may rotate out of view if you take longer than about 20 minutes.
Sketching Jupiter
Sketch the positions of the equatorial belts and Polar Regions first.
Carefully estimate their widths and extent and where, in terms of latitude, they begin and end.
Next, place the less apparent belts and zones on your sketch as they appear on the planet.
Work on one hemisphere at a time.
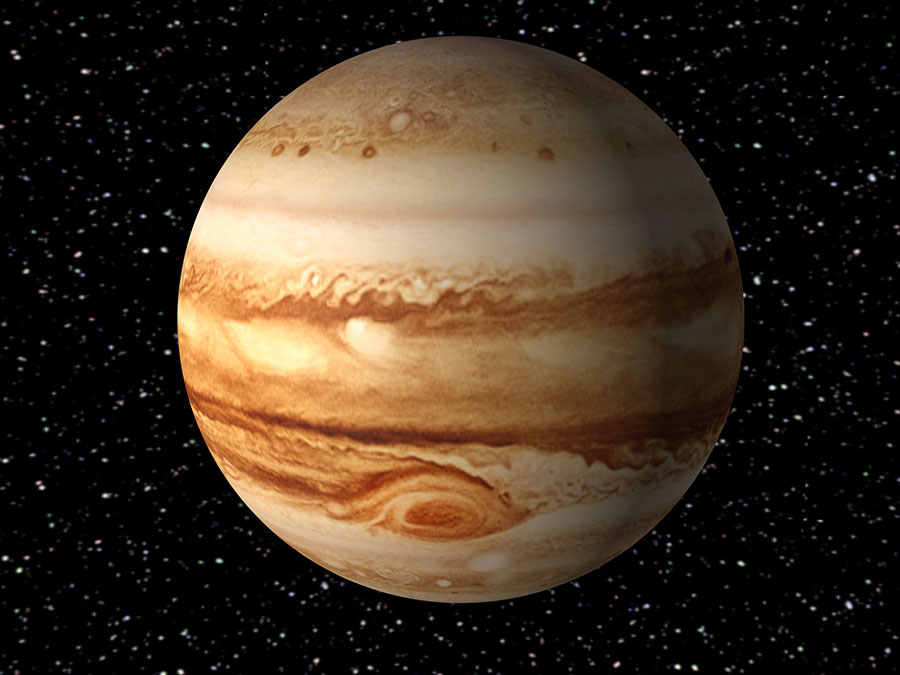
Next, place features within the belts and zones using Jupiter’s central meridian (an imaginary line from top to bottom) to help you gauge the distances.
Finally, carefully shade your sketch to duplicate what you see.
One technique some observers say works to bring out additional detail on Jupiter is to focus the eye on a spot halfway between one of the poles and the equator — but do not actually look at the spot.
Concentrate on seeing and sketching detail in the polar area. Repeat for the other hemisphere.
Telescope Stargazing
Astronomers estimate that 60 percent of all the stars in the Milky Way Galaxy are double or multiple stars.
These stars appear as one to the unaided eye, but many may be resolved into pairs with the help of a telescope.
I do not think there is an amateur astronomer I know who does not enjoy observing double stars.
It is fun, easy, rewarding, does not take a complicated setup, and you can observe from within a city, and challenging objects exist for every size of telescope.
In addition to where the double star is in the sky and how bright each component is, there are two quantities with which a double star observer should be familiar.
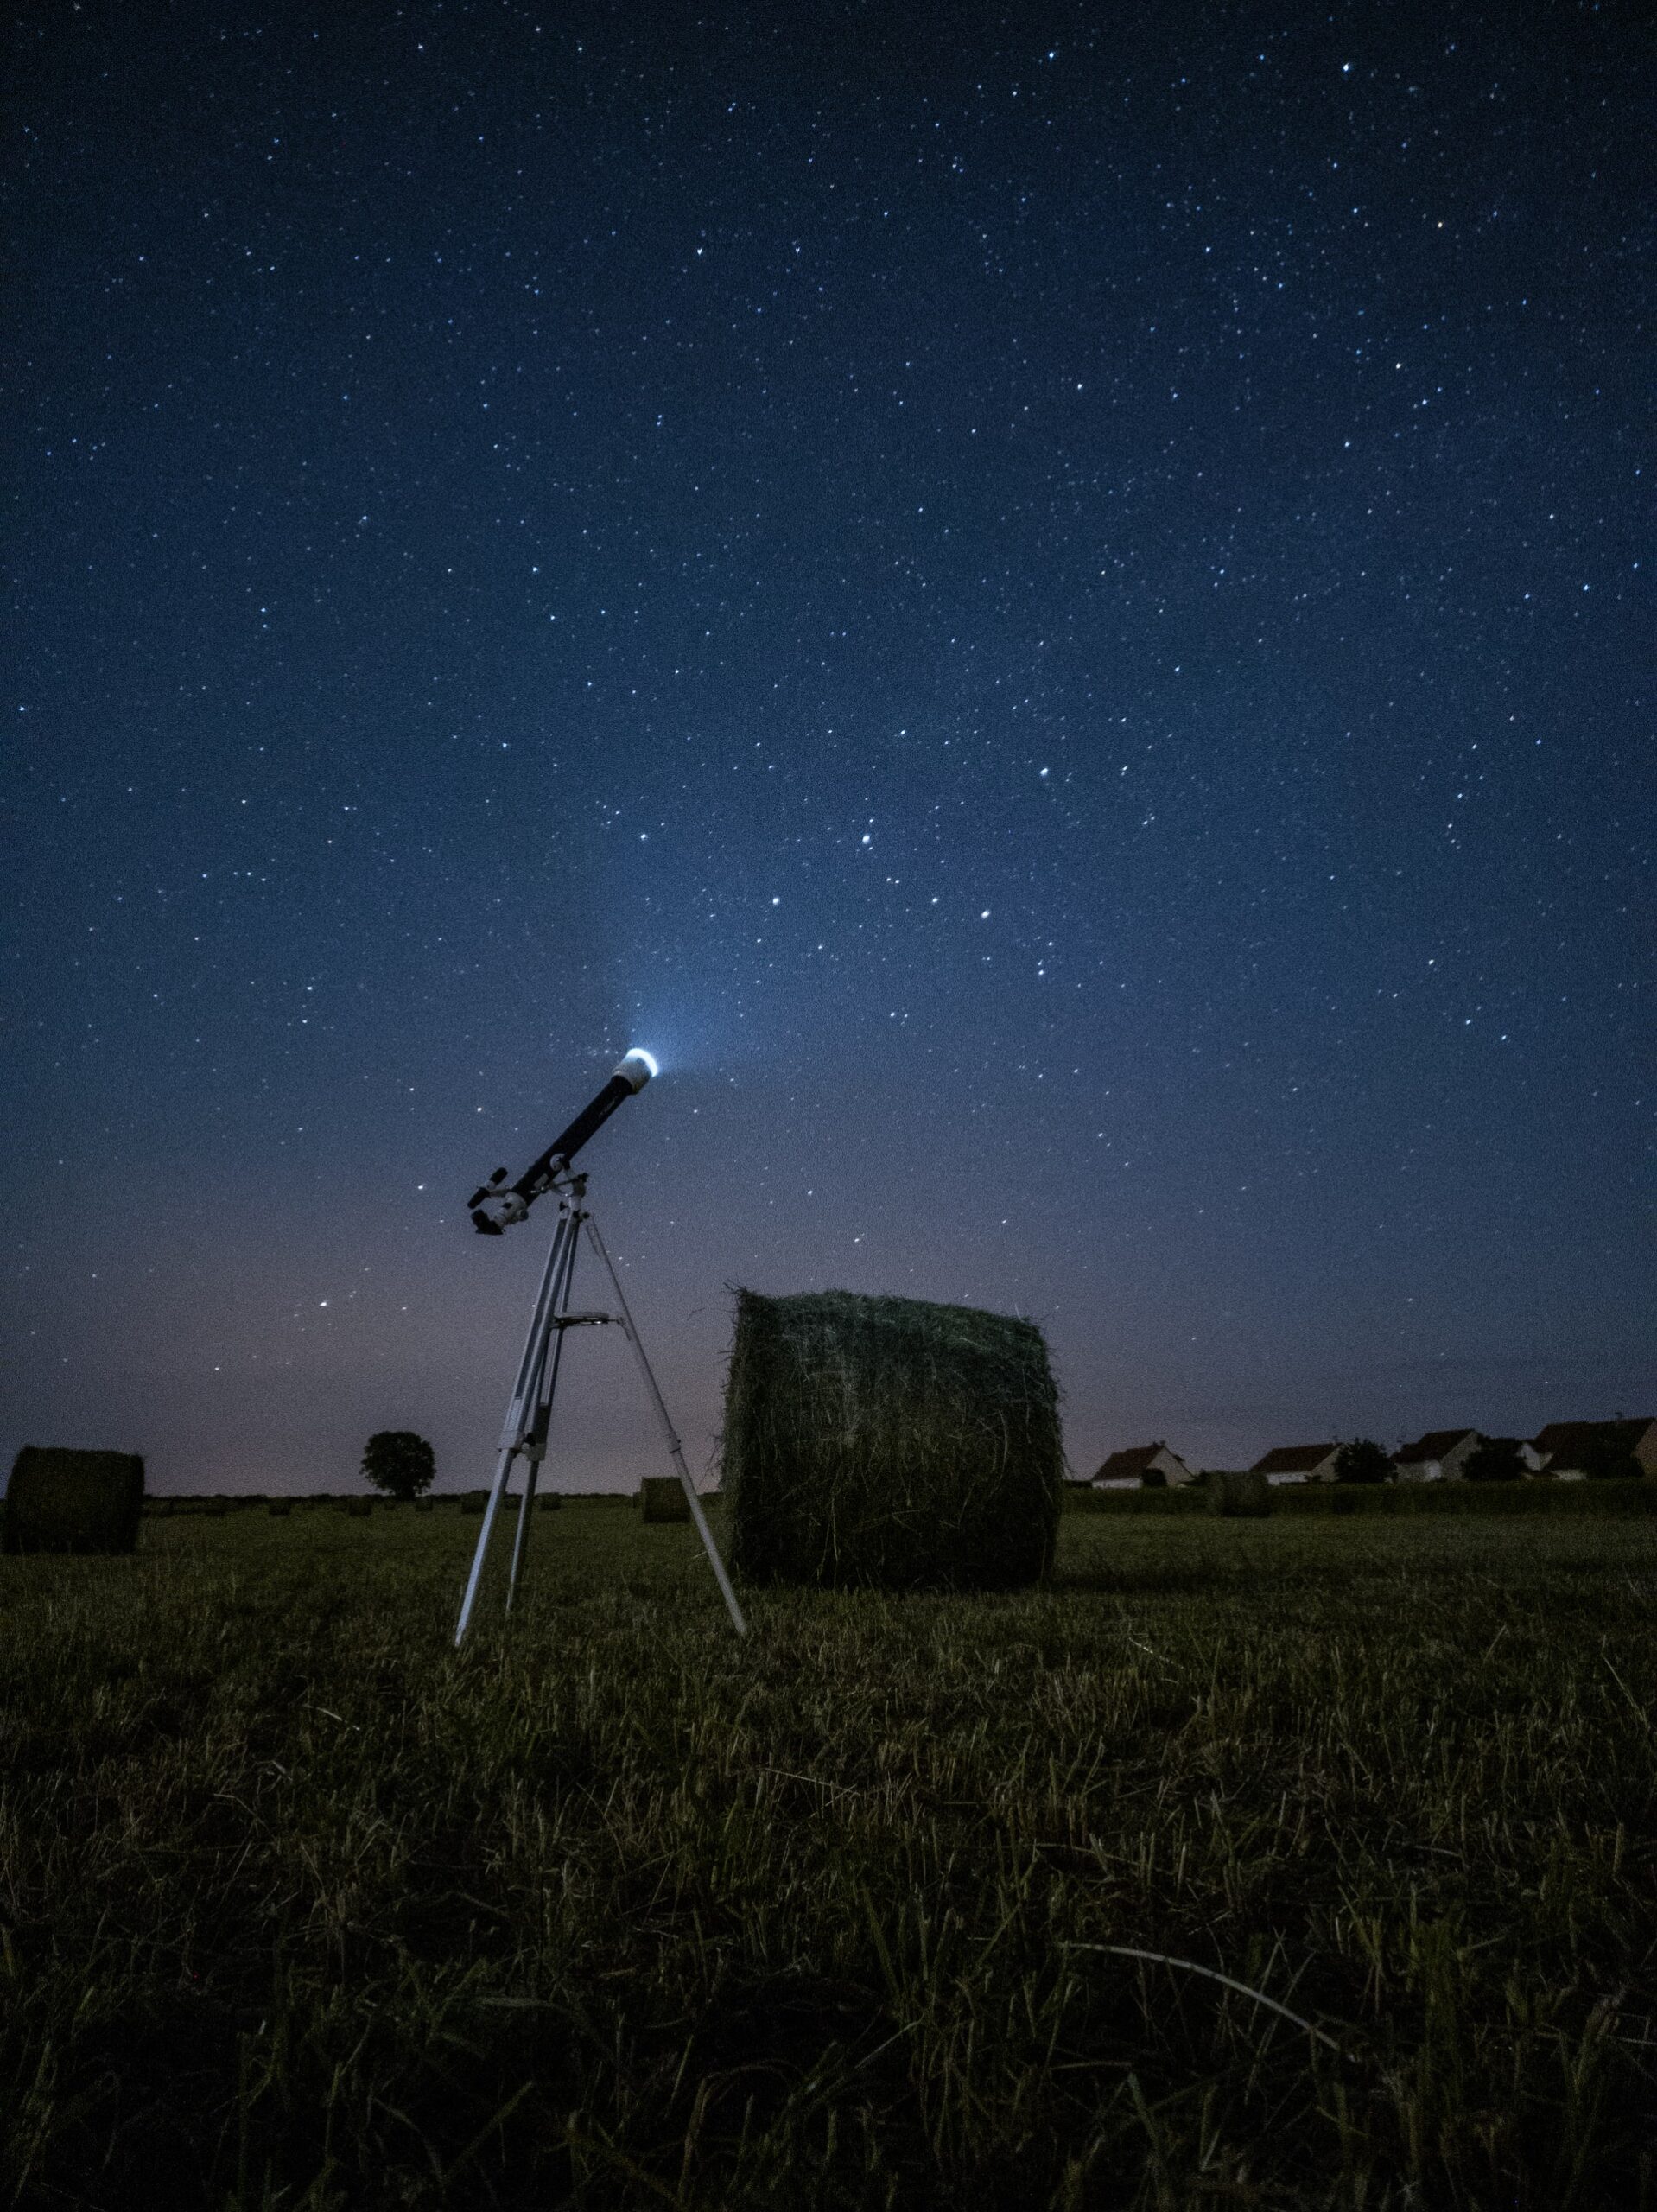
The first is the “separation” of the pair. This number is given in arc-seconds, and it is simply the distance between the two stars.
The second quantity is the “position angle.” This is the angle, measured from north through east, of the fainter of the pair (the “companion,” or “secondary”) from the brighter (the “primary”).
For instance, if the companion is due north of the primary, its position angle is 0°. On the other hand, if it is due east, 90°, and if midway between south and west, 225°.
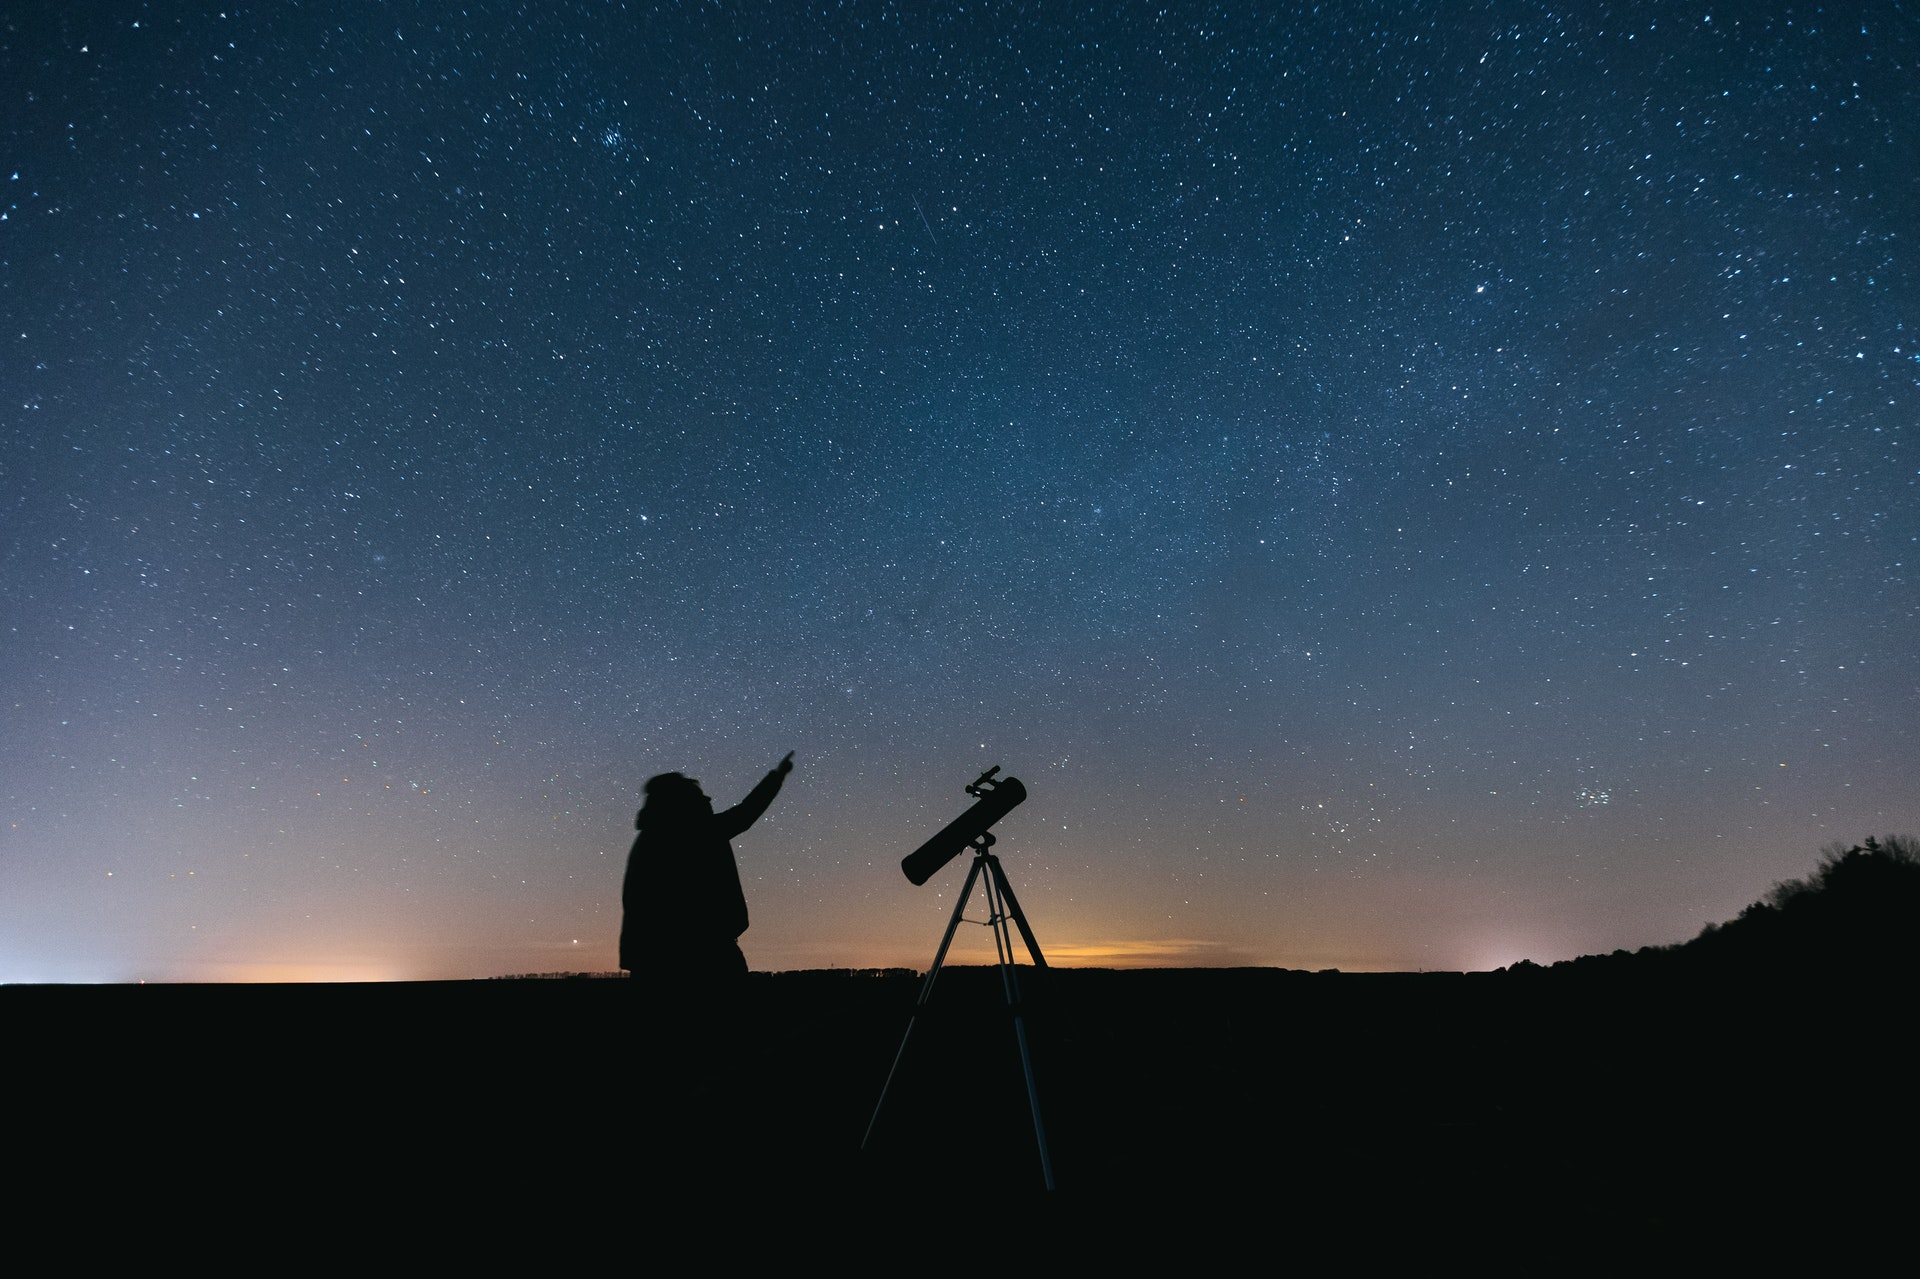
To determine the directions in your field of view, just let the stars drift for a while. If your telescope has a motor drive, turn it off for this check.
The stars will enter the field of view from the east and exit to the west.
Determine the longest path for the stars you see drifting through the field.
This is your east-west line.
The north-south line is perpendicular to it, and to find it, turn the drive back on, centre a reasonably bright star, release the declination lock on your drive, and move the telescope by hand toward the north.
As you observe the field of view, the bright star will be heading out, toward the south. Reverse this if you are in the Southern Hemisphere.
The technique is only slightly more complicated if you own a telescope on an alt-azimuth mount. To move this type of telescope “north,” you must adjust the altitude and azimuth motions simultaneously.

Does Telescope size Matter?
The size of your telescope will influence which double stars you observe.
The resolution of a telescope only depends on its size. Double star observers often refer to a rule of thumb called “Dawes Limit.”
The formula for Dawes Limit is r = 4.56/D, where r is the separation (in arc-seconds) of the closest resolvable double star, and D is the diameter of the objective in inches.
Alternately, you can use r = 114/D, where D is the diameter of the objective in millimetres. And remember, Dawes Limit is only a guideline.
One reason for the popularity of double stars is that many of them show colour. Colourful double stars are a joy to behold. It does take some time at the telescope before you begin to see colours easily, but the payoff is big.
Close double stars often help us see colour. The contrast between two or more stars in proximity brings out subtle colour tones that normally would be lost if each were viewed separately. Some of the enjoyment in amateur astronomy is in sharing observations with friends.
You will find, however, that colour perception at the eyepiece is about as personal and subjective as any phase of our hobby. Colours that you see apply to your eyes, period.
One person may see a particular star in a colour different from that which you see.

The Comet Hunter
Charles Messier (1730 – 1817) was a French comet hunter. In his searches, he occasionally encountered celestial objects that had the appearance of comets.
These objects appeared fuzzy in his small telescope but did not move against the background of stars.
The astronomers of the day called these objects “nebulae, ” a word whose definition is much more specific today.
During his searches, he discovered a comet-like patch in Taurus on August 28, 1758. This non-moving object later became the first entry — M1 — in his famous catalogue of nebulous objects that might be mistaken for comets.
Messier published three versions of this catalogue.
The final tally of objects amounts to 110 and is the catalogue we recognize to this day.
Working your way through Messier’s list will introduce you to some of the brightest deep-sky objects in the sky. You will also learn about several types of deep-sky objects: star clusters, nebulae, and galaxies.
There are 110 objects on Messier’s list and space constraints prevent me from listing them all here.
But you can find many different resources either on the Internet or at your local library that can guide you to all of Messier’s objects.

If you have seen all, most, or even just a few of the Messier objects, it may be time for you to participate in a Messier marathon — trying to see as many Messier objects as you can in a single night.
As Messier compiled his list from northern latitude, it is not possible to view all the objects from a southern hemisphere location.
Run the Messier Marathon
Although a Messier marathon can be attempted from any northern latitude, low northern latitudes are best.
Latitude of around 25° north lends the best possibility to complete a Messier marathon at the right time of the year.
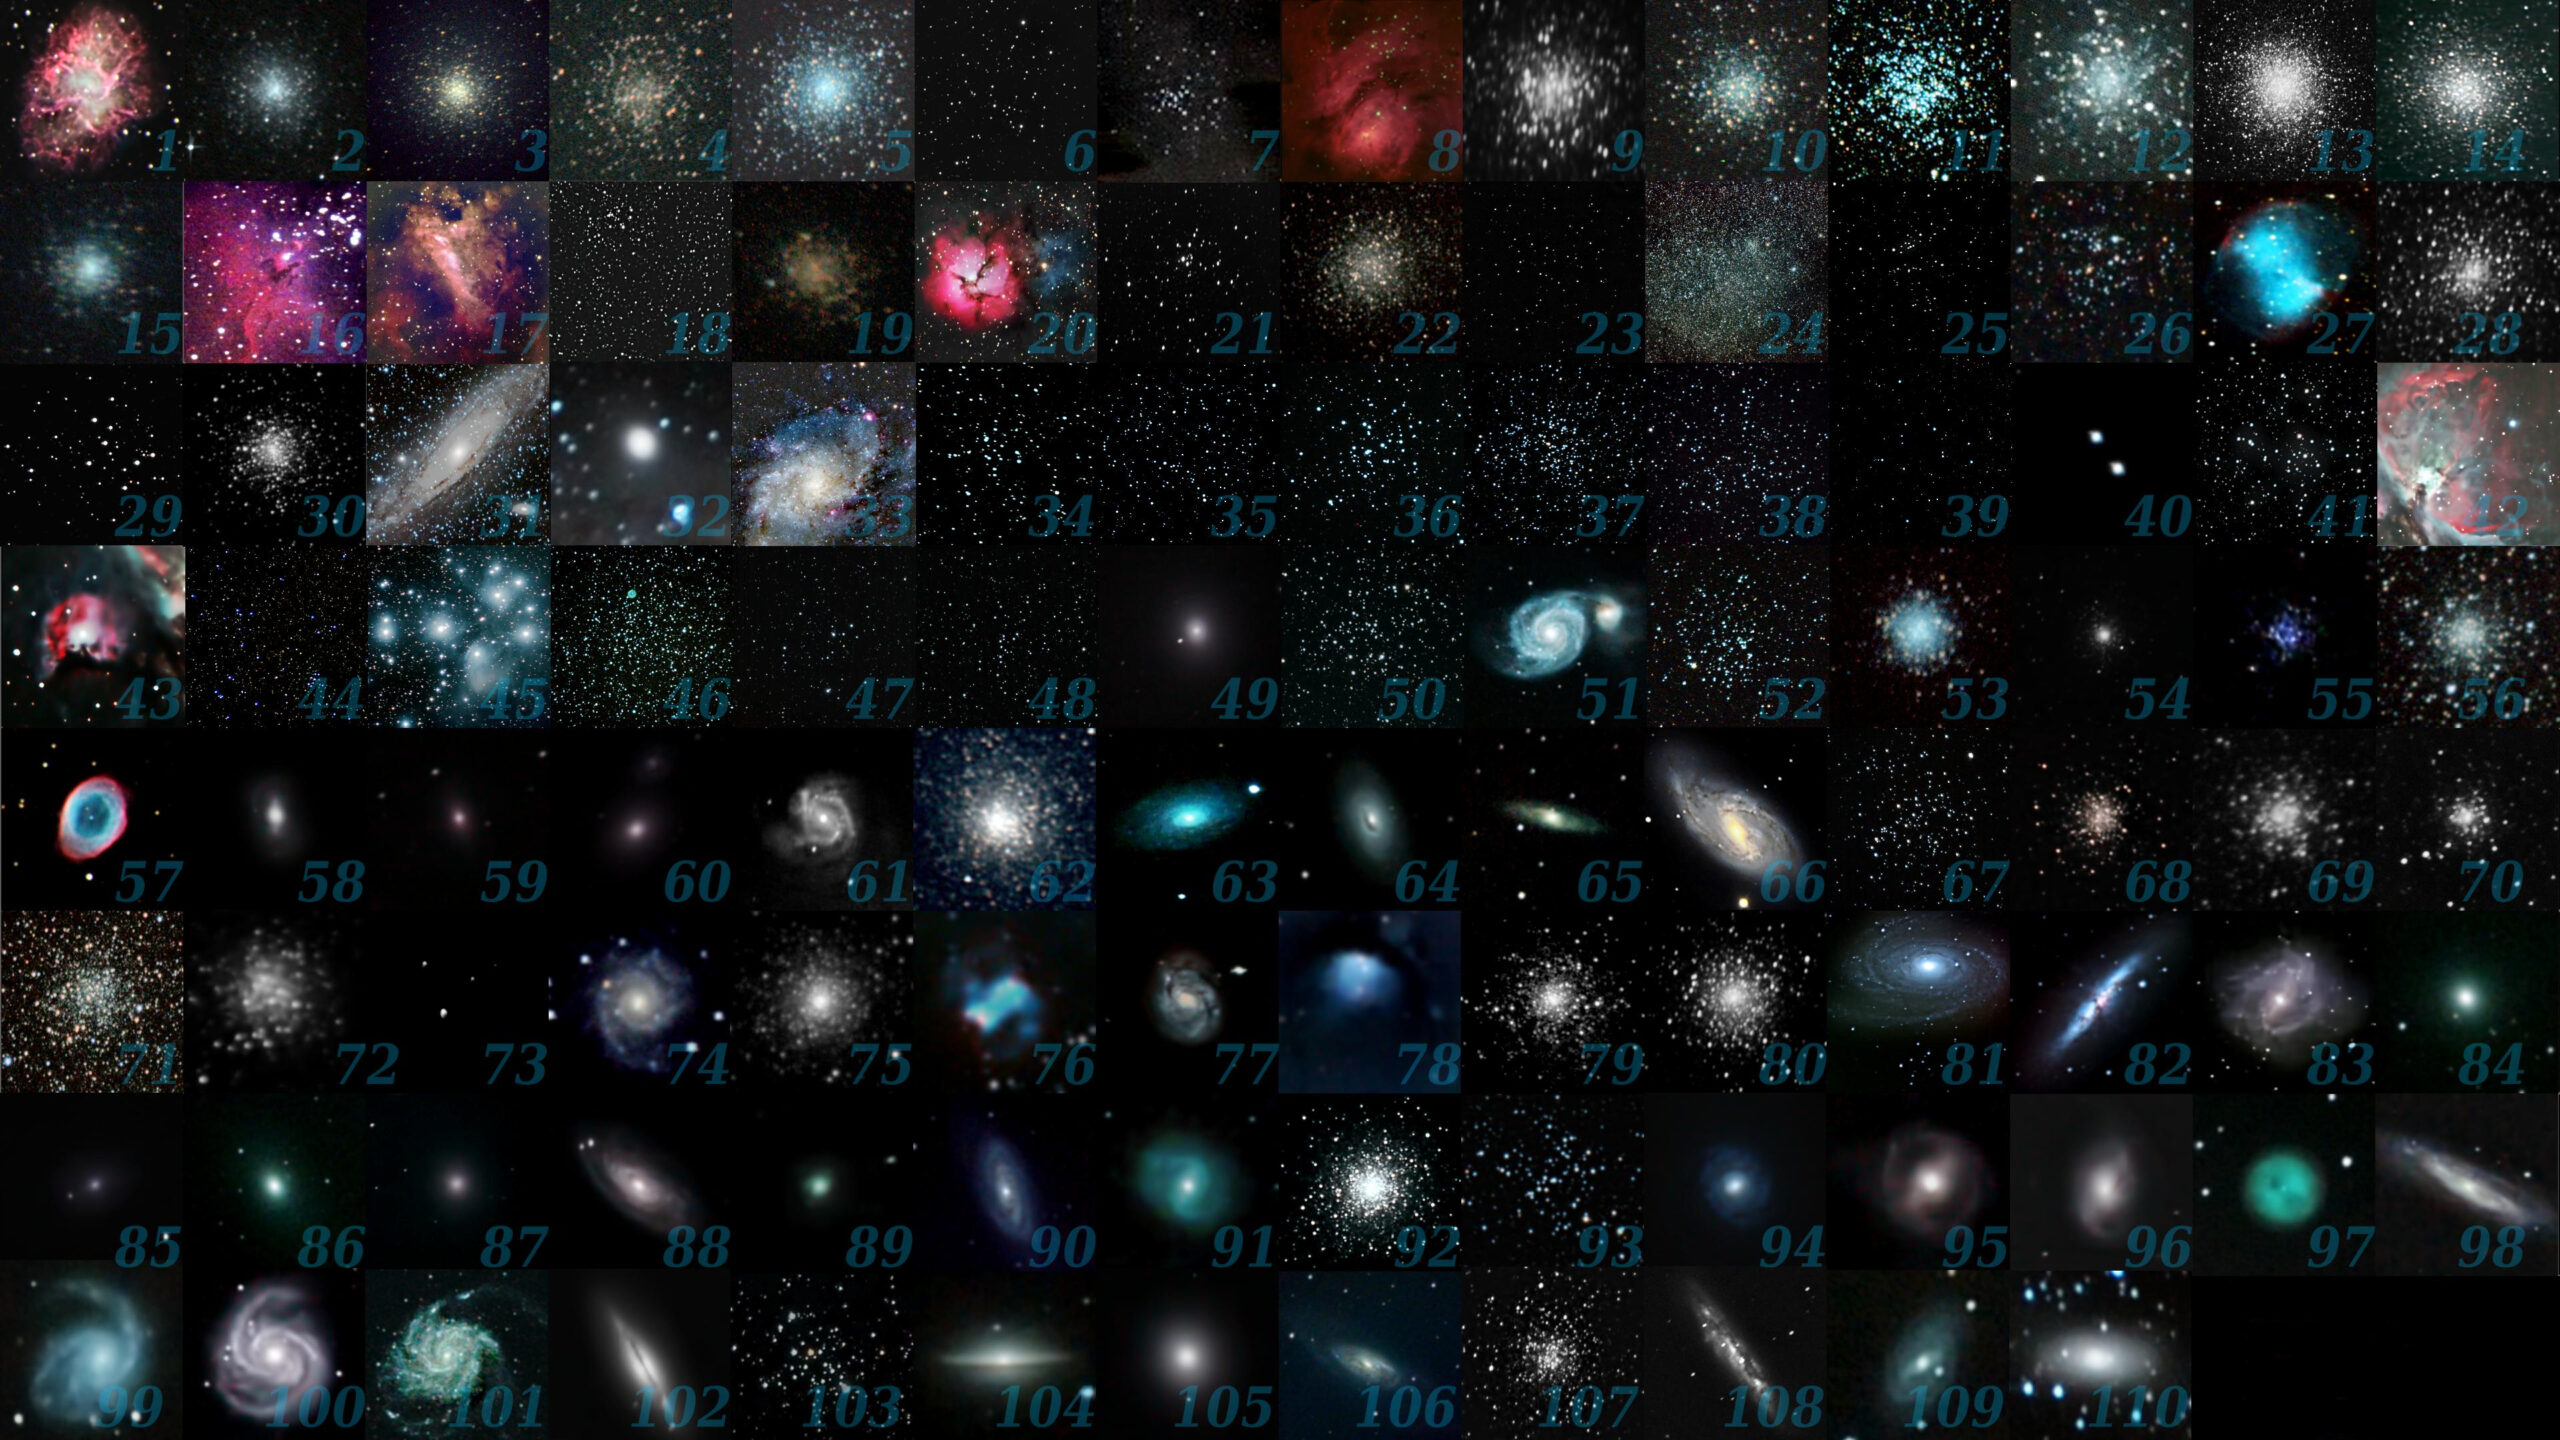
At low northern latitudes, particularly around latitude 25° north, it is possible to observe all Messier objects in one night during a window of a few weeks from mid-March to early April.
In that period the dark nights around the time of the new moon are best for a Messier Marathon.
Typically, an observer attempting a Messier marathon begins observing at sundown and will observe through the night until sunrise to see all 110 objects.
An observer starts with objects low in the western sky at sunset, hoping to view them before they dip out of view, then works eastward across the sky.

By sunrise, the successful observer will be observing the last few objects low on the eastern horizon, hoping to see them before the sky becomes too bright due to the rising sun.
The evening can be a test of stamina and willpower.
Difficulty for the individual can vary depending on weather conditions and the physical shape of the observer.
Particularly crowded regions of the sky (namely, the Virgo Cluster and the Milky Way’s galactic centre) can prove to be challenging to an observer.
Moreover, a Messier marathon will generally need to budget time for these regions accordingly.
But the number of nights on which you can see all the Messier objects is limited. This is due to the way the objects are distributed around the sky.
The beginning of the season is about March 17. The Messier marathon season ends on April 3. Remember, however, that you cannot just go out and observe the Messier objects on all those dates.
The second limiting factor is the Moon. Its phase must be within a day or so of New Moon.
Can you see them all in one night?
The quick answer is “yes.”
Many people have viewed all the Messier objects during a single night.
All the Messier objects can be seen from a dark site on a good night with a good 3-inch telescope. You can even do the marathon with high-quality 8×50 binoculars.
Constellations in the Night Sky
Besides planets, you will also want to look at the constellations in the night sky. The sky is divided up into 88 areas, known as constellations, which serve as a convenient way of locating the position of objects in the sky.
The stars of a constellation usually have no physical connection between one another: although they appear in the same direction in the sky, they are at vastly differing distances from us.
Constellations come in many different shapes and sizes.
The largest constellation, Hydra, the water snake, is a long and rambling figure that covers an area of sky 19 times greater than that of the smallest constellation – Crux, the Southern Cross.
Some constellations consist of easily recognizable patterns of bright stars, such as Orion, while others are faint and difficult to identify.

Constellations really exist only in the minds of human beings although they are tangible layouts in the sky. They are projected onto random groups of stars to create a picture story.
These pictures have appeared in the sky every year at the same time for thousands of years.

From early in recorded history, the stars were important to people in their daily lives.
The stars assisted the ancients in planning for the planting of their crops, guiding navigators on their many adventures, and as a way of telling time.
Much wonder and mystery were associated with the stars, and the people of ancient times began to place a grander, often divine, meaning on the majestic heavenly bodies.
We will begin with the zodiacal constellations. The twelve signs of the zodiac have beautiful myths associated with them and they can be remarkably interesting.
While some people use the zodiac to guide their lives and decisions, many people dismiss it as voodoo science.
Nonetheless, the zodiacal constellations are fun to study and learn about.
Astrology and the Constellations
According to astrology, the period of the year which each sign of the zodiac dominates is determined by the time in which the Sun is “in” its corresponding constellation.
For that reason, it is not actually possible to observe a zodiacal constellation in the night sky during the time its sign is dominant.
Instead, look for your constellation in the exact opposite time of the year. For example, Sagittarius is designated as from November 22 to December 21.
However, if you want to observe Sagittarius, you will have to wait until summer to see it. Instead, spend your observing time viewing Taurus.

Ask us a question about Mapping the Night Sky
That’s for our guide to Mapping the Night Sky. If you have a question or query about your first time using a telescope, don’t hesitate to drop us a comment below or get in touch via the Chat Tool.


