
My ten tips for the beginner astronomer – using a beginners telescope
In this article I would like to share with you my top ten astronomy tips for using a small telescope, going out at night in the dark requires some preperation and a few simple techniques to make stargazing experience enjoyable and rewarding for all.
Astronomy
Tip No. 1 – Adjust your eyes to the darkness
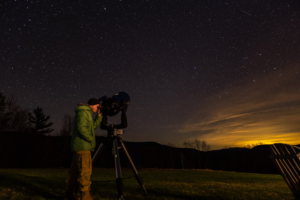
Before you can properly see objects in the night sky you must first get your eyes adjusted to the dark. Viewing the night sky with a telescope outside, darkness is your friend. Artificial light is your enemy. The best thing to do is to get set up before sunset and get yourself organised. Begin by getting all the eyepieces that you are going to be needing. Now, one thing you do not want to be doing is keep nipping into the house for that warm cup of tea, have a flask instead and take it outside with you.
What you also need is to get what they called dark adapted eyes, and this can take from 20 to 40 minutes to get your eyes properly dark adapted. This will enable you to see a lot better.
A red-light torch is useful, these are easily found on the internet. You can even make these out of ordinary torches and just put a couple of layers of electrical red tape, this gets the light factor down as red light is kind on our eyes.
Tip No. 2 – Keep Warm
Dress correctly. This is important. A lot of newbies to Astronomy do not realise how cold it can get standing still looking through a telescope, they underestimate the weather. Check local the conditions. If it feels cold when you first step outside, it is going to feel freezing after about 10 or 15 minutes.
Tip No. 3 – Don’t use a telescope indoors
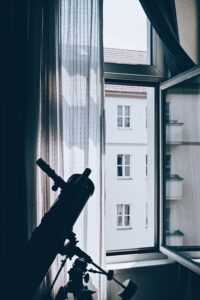
Do not use your telescope indoors, attempting to look at objects in the night sky through glass does not work. Window glass is low optical quality and will reflect light making it difficult to see anything clearly. The window aperture restricts your angle of view, in other words if for example your window faces North you will not see any Planets!
Tip No. 4 – Allow to Cool
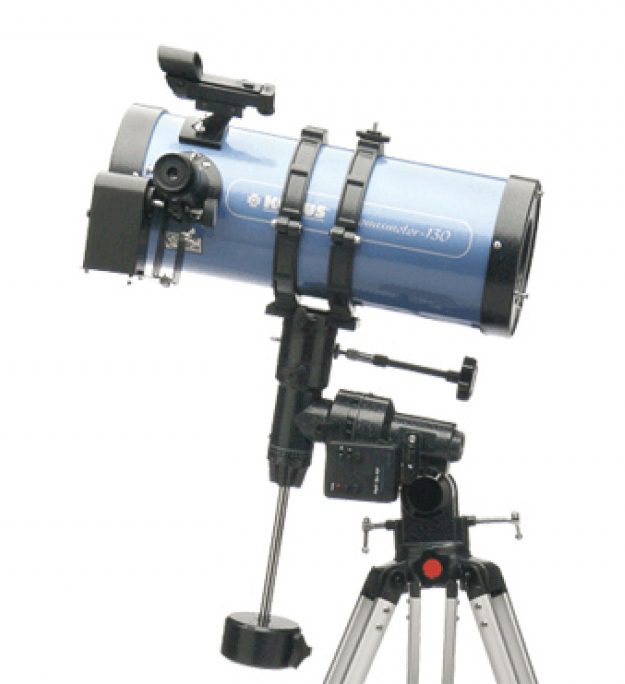
Always allow your telescope enough time to cool down. This is another thing overlooked by people new to the hobby.
If you take outside your telescope from a warm room inside to the cold outside the warm air that is trapped inside the tube will actually interfere with the view because we’re using quite high magnifications, what will happen is the warm air from your house is going to be hitting the cold air and you’re going to see wobble due to thermal effect. Take your telescope outside 20 minutes before using it allowing it to adjust to outside temperatures.
Tip No. 5 – Weather
It is all right looking at the weather forecast and seeing it is going to be a nice clear night tonight, but sometimes, it might not be the best time and it is an easy test you can do, if you go outside on a nice clear night and look at the stars and see how they are twinkling? If they are quite vigorously sparkling it usually means that the atmosphere is quite unstable. What you are looking for is the stars to flicker in a nice soft undulating pattern, do not worry if there is a fine mist in the air this usually means that the atmosphere is steady, and it is perfect for viewing the planets and even the galaxies.
Tip No. 6 – Collimation
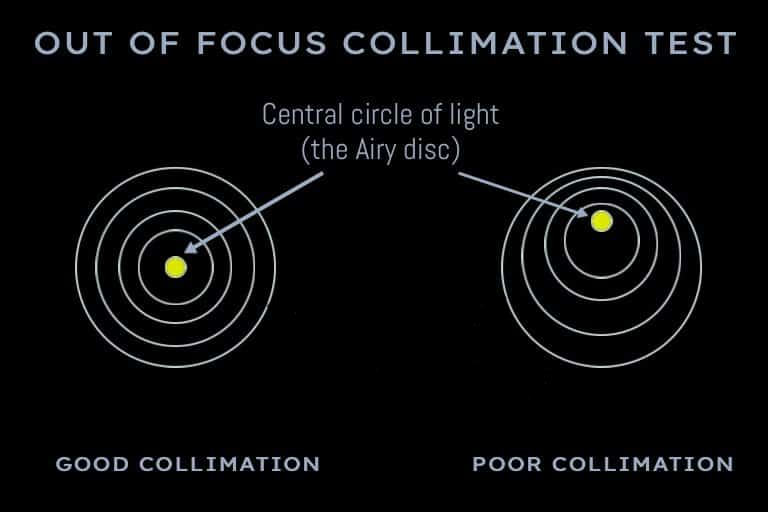
Reflector Newtonian Telescopes are a bit more delicate than Refractor Telescopes, so this tip is purely for reflector users. Before using your telescope, you must make sure that your telescope is in good Collimation. Even brand-new reflectors may be out of collimation, so it is worth checking. There are some good YouTube videos on this subject and well worth watching. There are also Laser Collimators available which can be purchased from around £20. I will be posting a tutorial on this subject soon.
Tip No. 7 – Use both Eyes
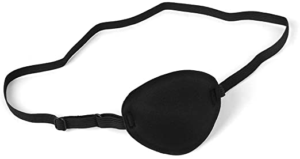
This one may be a bit of a surprise to some of you if you have never heard of this before. And that is when you get up to the eyepiece keep both eyes open. Because what happens is when you do this if you are squinting in the eyepiece, it sends electrical impulses across to the other eye which makes it slightly vibrate and disturbs your vision. The answer is either use Bino-Viewers Eyepiece or wear an eyepatch which really does work!
Tip No. 8 – Averted Vision
This is another little technique that takes a little bit of getting used to but again, it’s one of those techniques that once you learn you will always use, especially useful if you like to look for some of the fainter objects, some of the deep space targets, for these objects you can use what they call Averted Vision. This is a technique which uses your peripheral vision which is more sensitive to light than the centre of your vision. When you find a deep space object and you have it in the eyepiece, try looking to one side so your peripheral vision sees the object, look back for a second then look away again, keep doing this and you will discover that you see more detail in the object!
Tip No. 9 – Tube Cover Removal
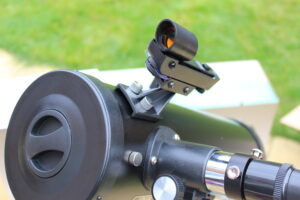
Now you really are going to think I’m trying to insult your intelligence on this one, but it is surprising how many people ask me about it. The front of the tube on your telescope there is a cover which protects it from dust etc. This cover also has a smaller hole with its own cover (see image) for general viewing both covers need removing so the entire aperture is open. However, if you are looking at the moon, particularly if it is full, you can remove only the small cover so that this restricts the light coming into the tube but will make it better for looking at the moon which can be very bright through a telescope.
Tip No. 10 – Moon Filter
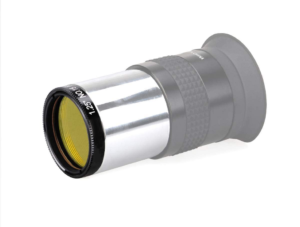
Moon filter, this is a terrific addition to your eyepiece and filter set, many telescopes come with a moon filter, and I highly recommend using it. The moon is very bright when viewed through a telescope and the glare is too much without using a filter. Attach the filter to whichever eyepiece you are using, this simply screws to the bottom (see image). The views of the moon are improved giving it more depth, improving contrast and making faint detail easier to see.
How to Use a Telescope | Part 8 | Top 10 Tips for Beginner Astronomers
Well, that is my top ten tips for using a beginner’s telescope to view the night sky. Astronomy is a fascinating hobby which will give you hours of enjoyment. Please leave a comment if you have any tips you would like to add it is always good to hear from other astronomers.
We hope this explainer has helped you finding some interesting astronomy objects. Now you are all set to move to our next article in the UK Telescopes guide on how to use a telescope!
If you would like more information on interesting objects to observe in the night sky or advice about the best telescope to choose, please don’t hesitate to contact me on 01733 306 731 or send me an email tim@uk-telescopes.co.uk
Don’t forget to sign up to our NEWSLETTER!
