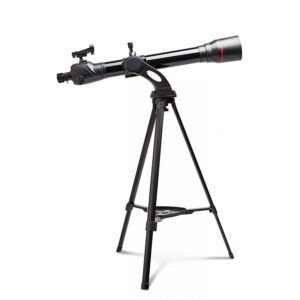
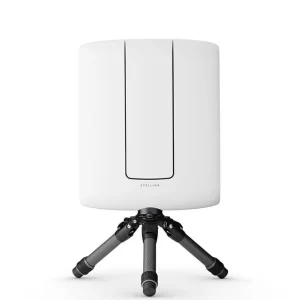
Now that you have your telescope setup it is a good idea to learn a little about the night sky.
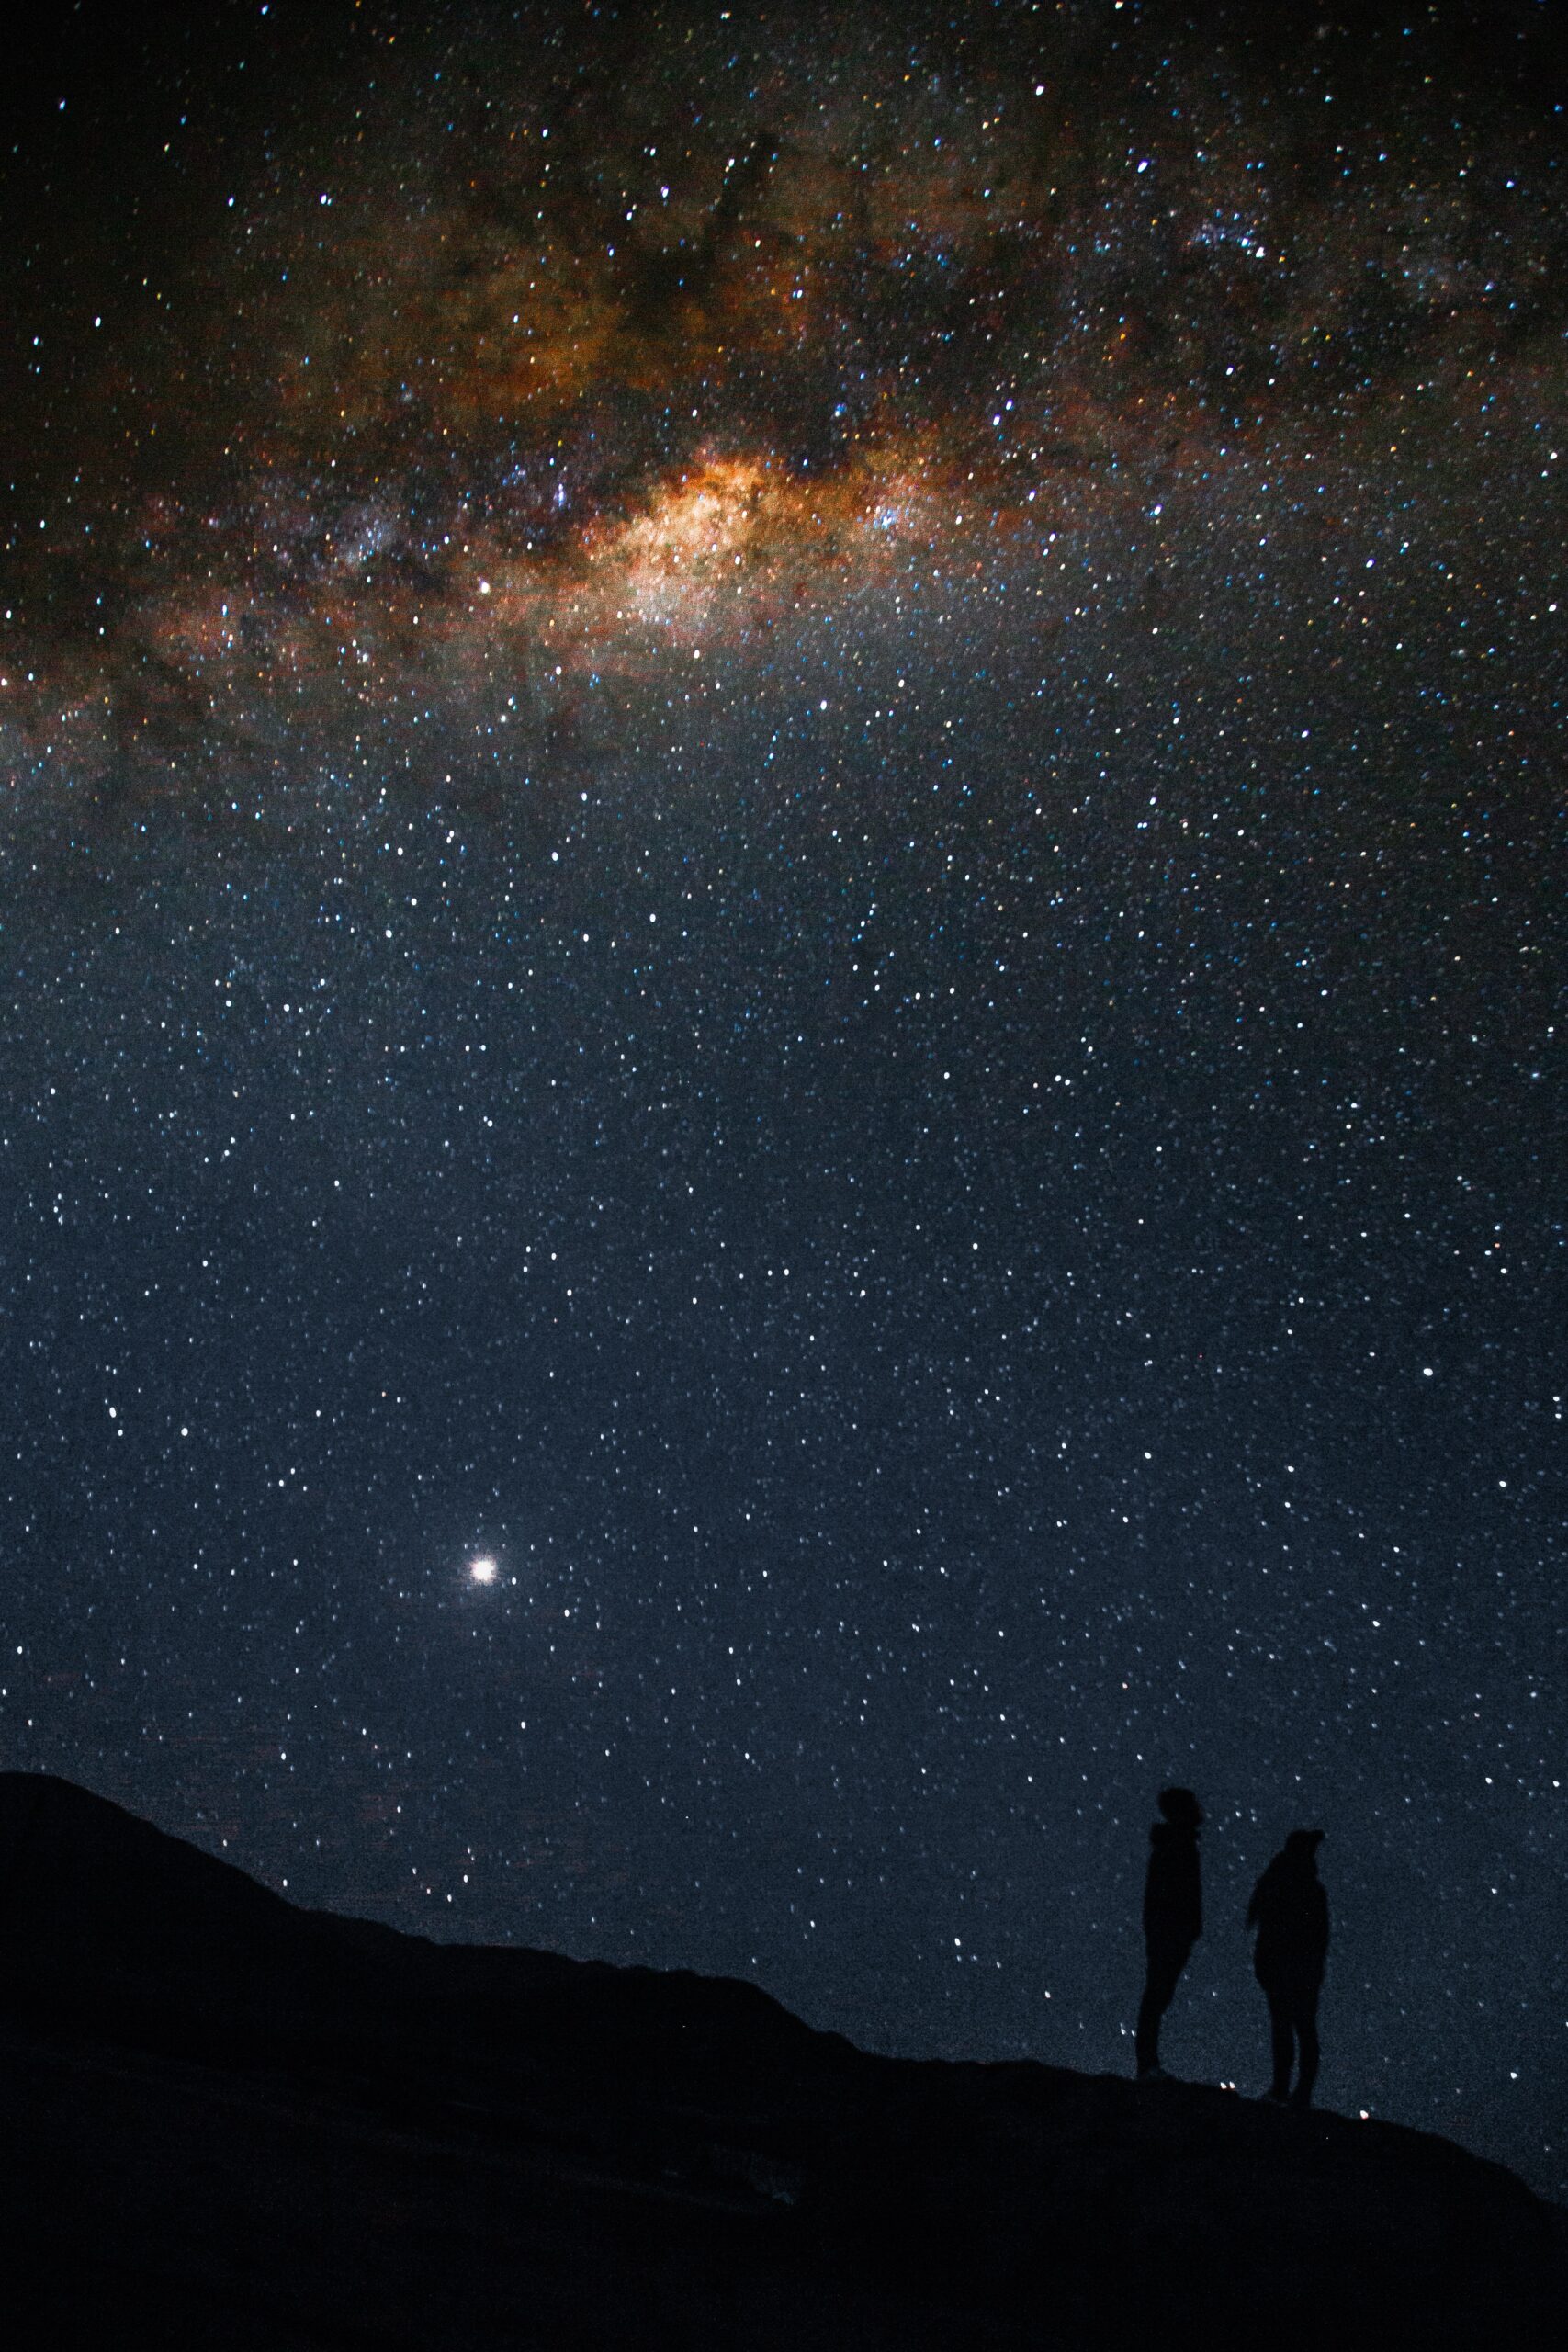
Many of us are located in an area with a significant light pollution. Fortunately, there are still many things you can see from the city when searching in the night sky.
Some of the best objects to view from a city include the moon and planets, which are some of the most fascinating and ever changing objects in the night sky.
For those of us in a darker suburban or country sky, we can start to adventure into observing fainter objects beyond our own solar system.
No matter where we stargaze from, it’s important to remember that it takes time for our eyes to ‘dark adapt’.
Let’s look closer at what we can find in the night sky…
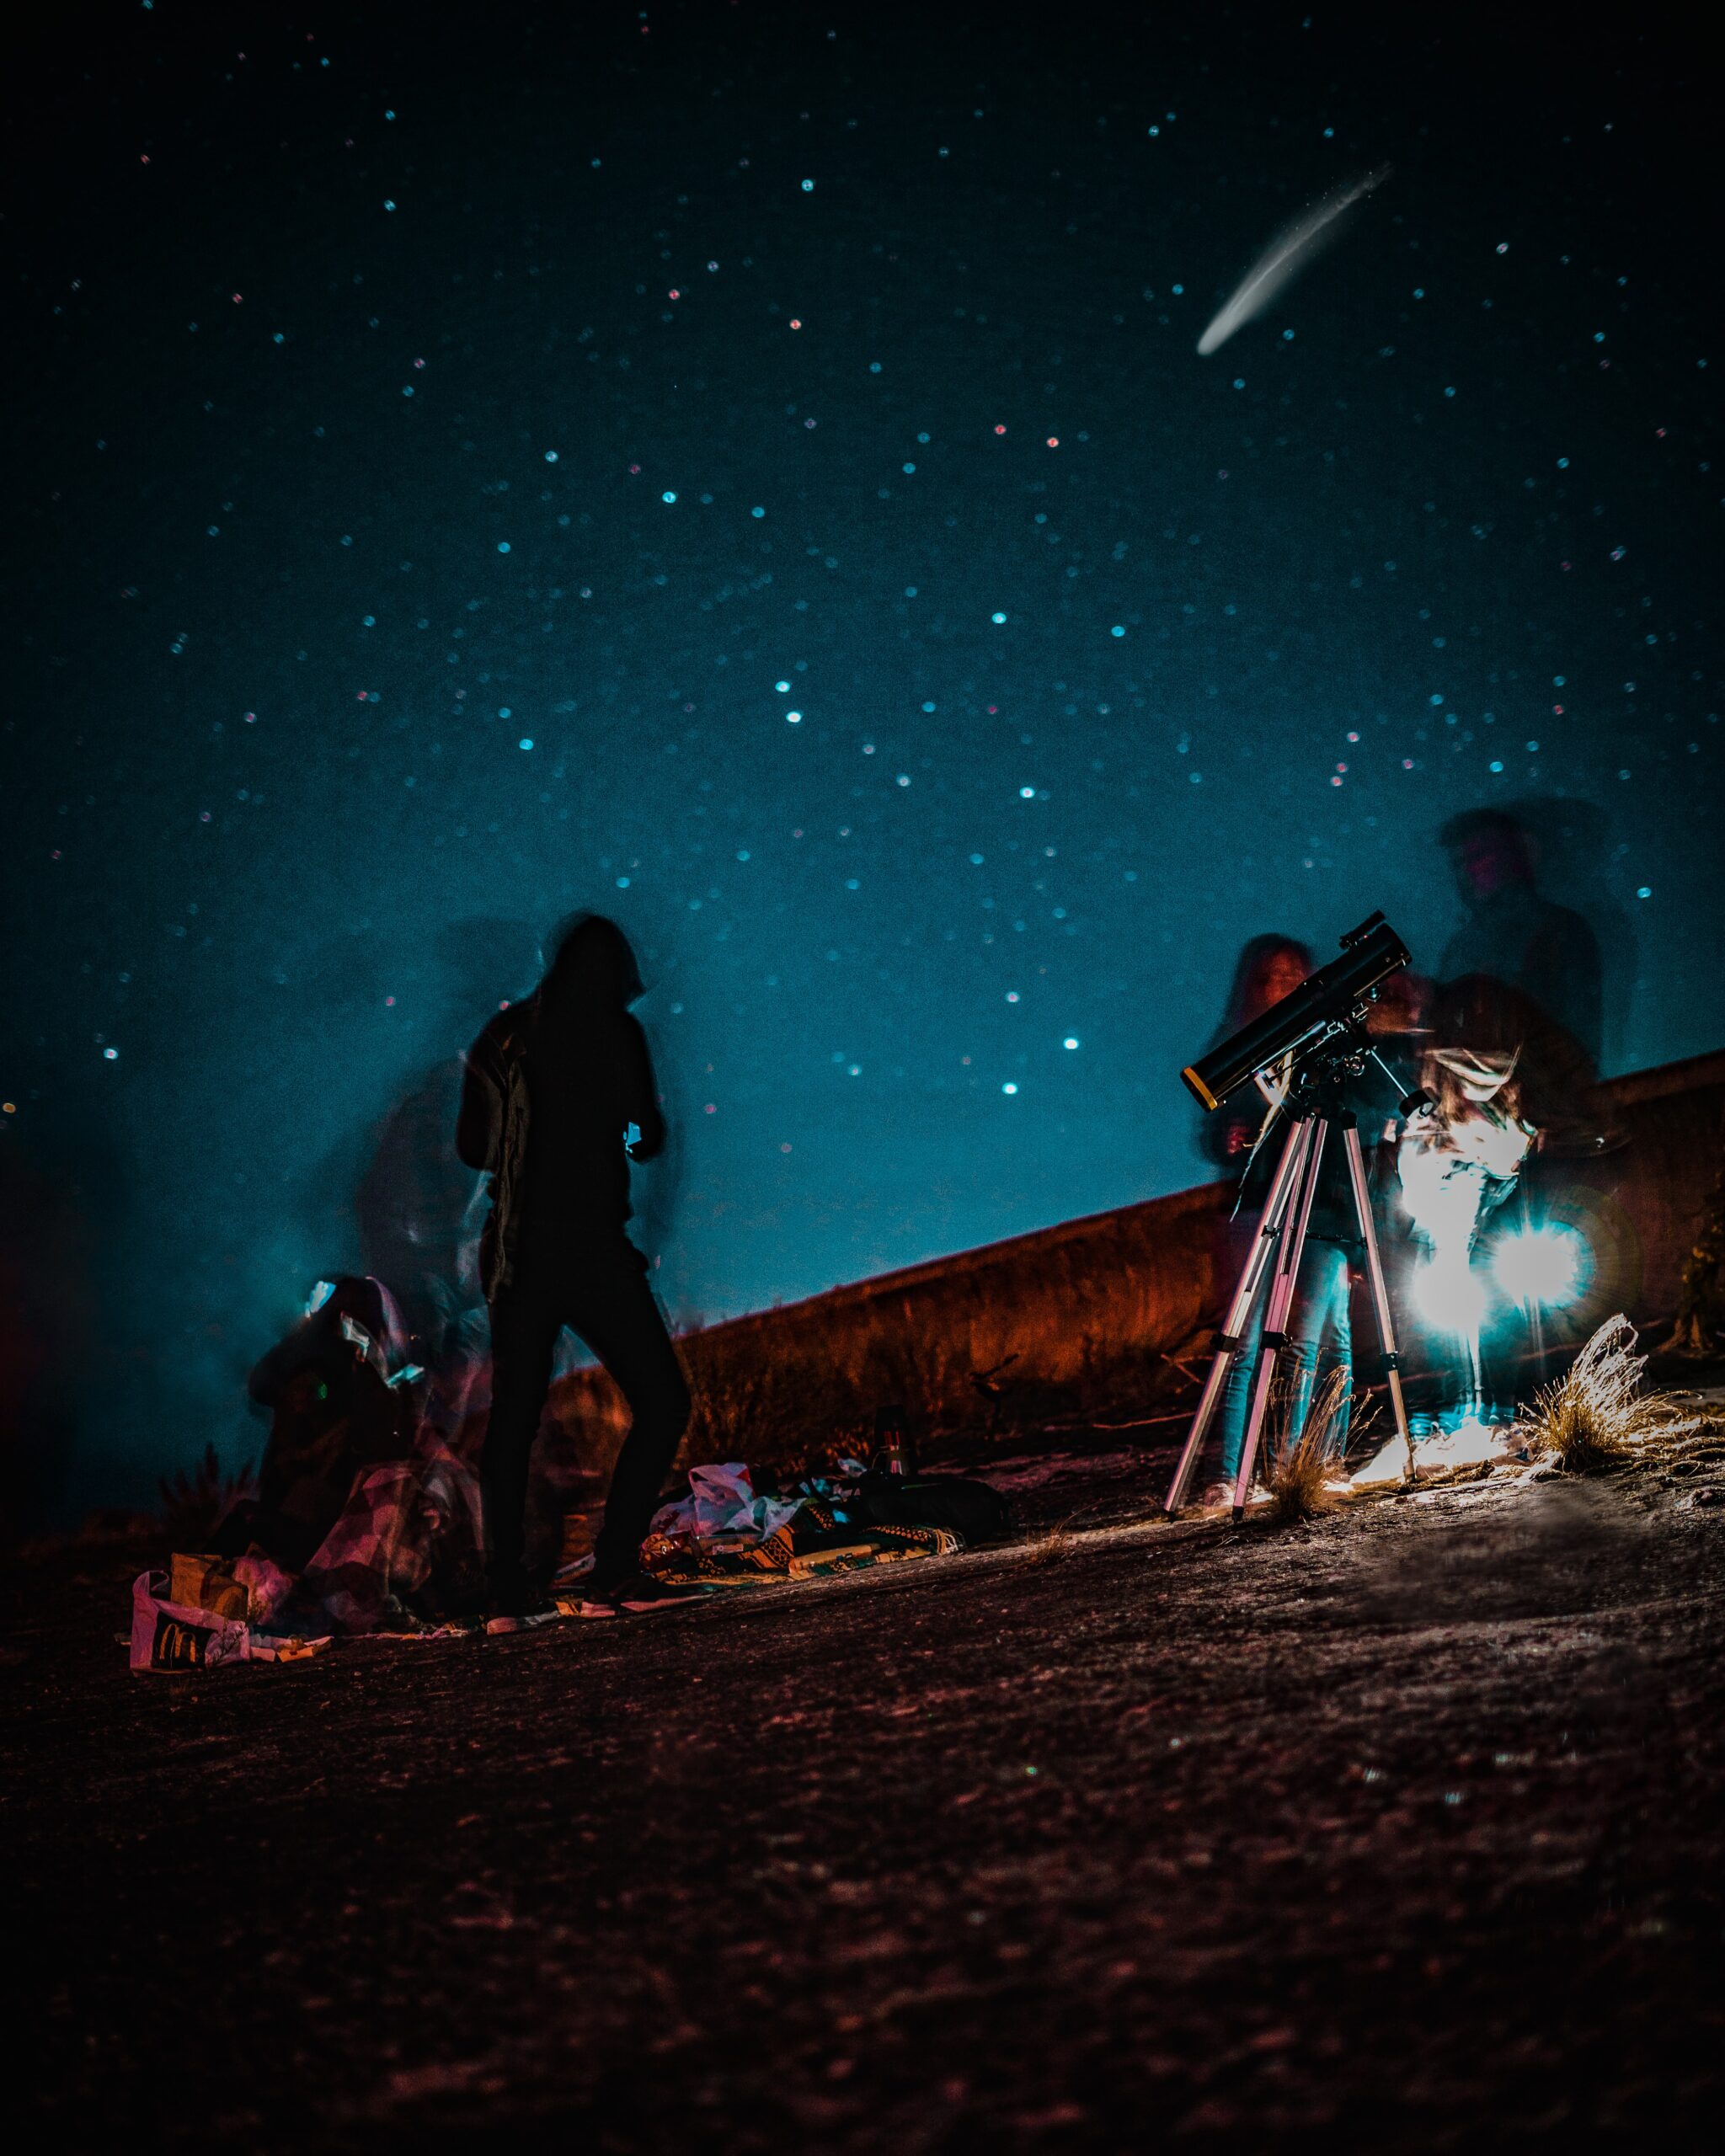
What Can you Find in the Night Sky?
If you can give yourself 30 to 40 minutes to dark adapt but if you’re short on time, even five to 10 minutes will help significantly.
Keep the lights off in your garden.
Avoid using things like cell phones or any device that’s going to introduce external light, especially torches. Allowing your eyes to dark adapt is a very critical step, and allowing you to enjoy the night sky with a small telescope.
Accessories for Exploring the Night Sky
When starting out familiarising yourself with the night sky may seem intimidating at first, but fortunately there are several accessories which are going to help you learn the night sky.
You can start with something as simple as a star chart planet sphere.
It’s very simple and it just allows you to dial in, the date and time for the night that you intend to observe, it’ll show you the major objects that you can see for that given time.
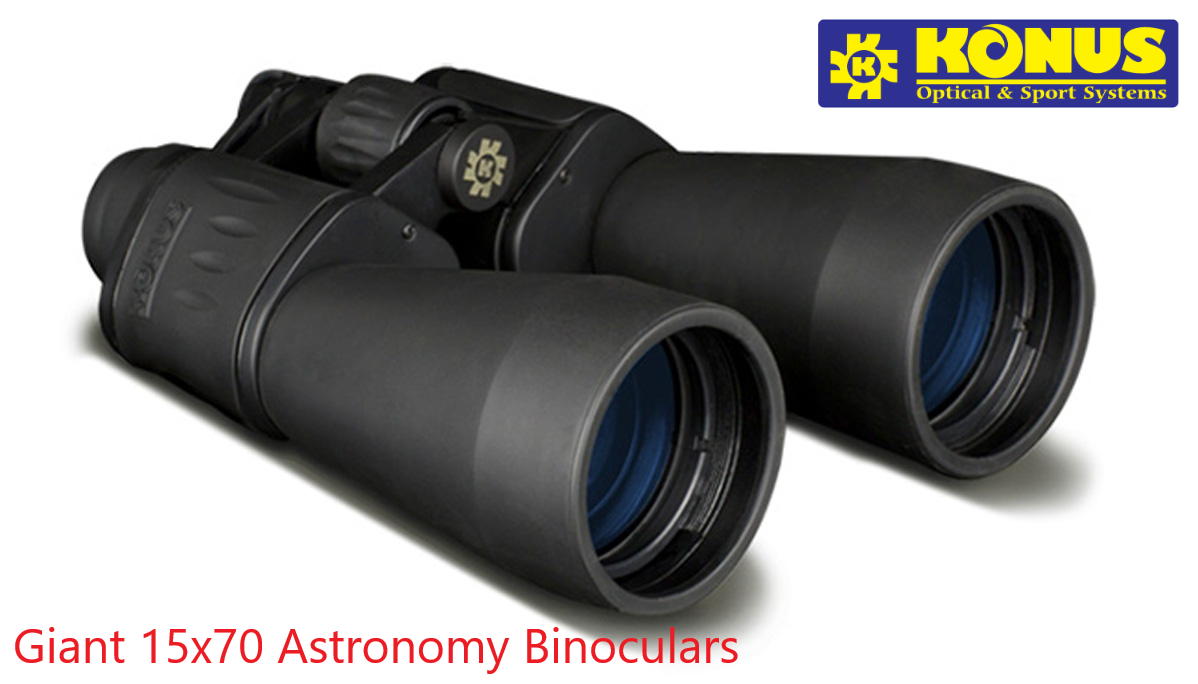
Another great tool for starting out is actually going to be a pair of astronomy binoculars.
Typically, 10 by 50 or larger binoculars offer a wide field of view and are therefore very useful for learning the night sky.
In fact, binoculars are great tools for viewing some objects like open star clusters and brighter nebulae before going out with the telescope.
Now for those of us who are observing through a Newtonian Reflector or Refractor telescope, there are some must have accessories.
A Barlow lens, this will double the magnifying power through any eyepiece when you use your telescope.
Balancing the Telescope
Also, when you’re starting out, you’re definitely going to want to look at the moon because it’s a spectacular object to look at.
The Moon Filter simply changes down the amount of light going into the eyepiece.
It’s not at all like a solar filter we should cover the telescope, but a moon filter is going to allow you to comfortably view the moon, and again it’s a terrific object to start out with either through binoculars or a telescope.
Now that we’ve covered establishing a suitable viewing location, and some of the basic accessories which can really help you begin stargazing.
I’d like to cover one more thing before we get to the telescope.

Let’s ask the question ‘What is the major difference between looking through the eyepiece of your telescope and looking at an Astro photo?’….
Reasonable Expectations
Keep in mind that the stunning photographs you see online and in magazines are time lapse images captured by high end telescopes. Sometimes even the Hubble Space Telescope.
The live view you see through a telescope or binoculars will be different and very unique experience for your eyes that no photo can reproduce. With the exception of some stars and planets, you do not typically see colour when looking through a telescope or binoculars.
This is because objects are so faint, and that our eyes simply aren’t adapted to colour, especially when they are dark adapted. It’s amazing enough just to be able to see light coming from a galaxy 20 million light years away.
Now with any telescope, you would want to start by viewing through the aligned finder scope. And really what the finder scope is doing is just providing a very large field of view but doesn’t magnify the image at all.
It’s showing you the image and it’s true, right side up orientation.
I’m going to be able to see Saturn with the naked eye, what appears to be a star centre and my aligned finder scope, and then view the eyepiece.
Finding Focus in the Night Sky
Some focusing is always going to be required, simply by turning the focus knobs.
If we’re looking at a star, you just want to turn the focus knobs until the star becomes a point, no matter how magnified
Now let’s say we want to make the object a little bit a little bit larger, especially for our planetary objects, we can change the eyepiece to change the magnifying power, or we can use the accessory that
I previously mentioned, the Barlow lens, which is going to double the magnification with any given Eyepiece that you’re using. Whenever you do this i.e. as you change the magnifying power ,you’re going to need to refocus again.
For many people, one fun night of stargazing is all it takes to catch your interest.
Whether you’re looking through a friends telescope or you have purchased a telescope of your own, the joy of stargazing can quickly grow on you.
There are many useful resources available to help you learn about amateur astronomy and taking your first steps in the night sky.
First, check out your library’s astronomy section should be able to find plenty of books to help you get started learning about the constellations, planets, deep sky objects and more.
Another great resource is the internet. A quick search will return plenty of useful information and articles from around the world.
We also recommend using the internet to look for an astronomy club or star party in your area. Astronomy clubs are a great place for beginners to learn and observe in the company of more experienced, astronomers.
How to Use a Telescope | Part 4 | In the Night Sky
Now you are all set to move to next article in the UK Telescopes guide on how to use a telescope!
If you are still uncertain as to whether you should choose a telescope or spotting scope, please don’t hesitate to contact on of our experts via our handy Chat Tool in the bottom right corner of the page.
